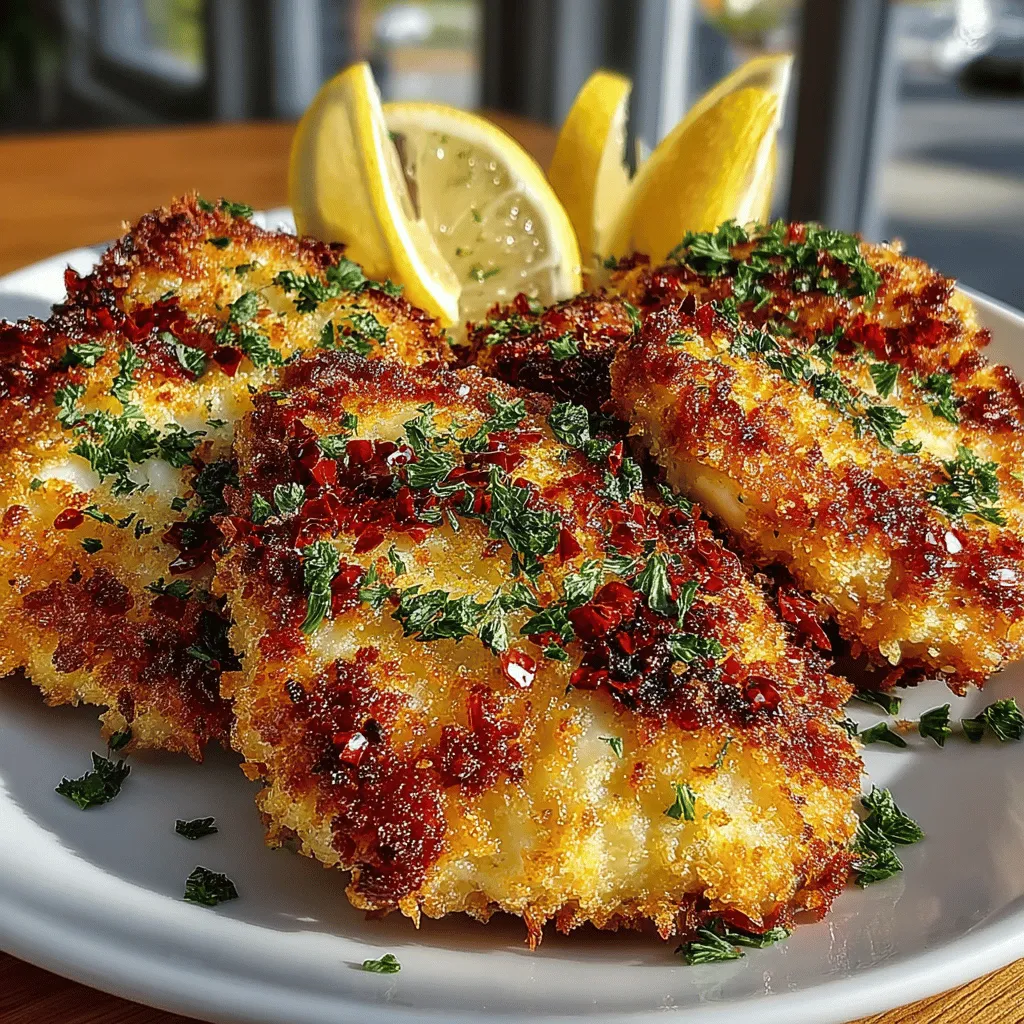
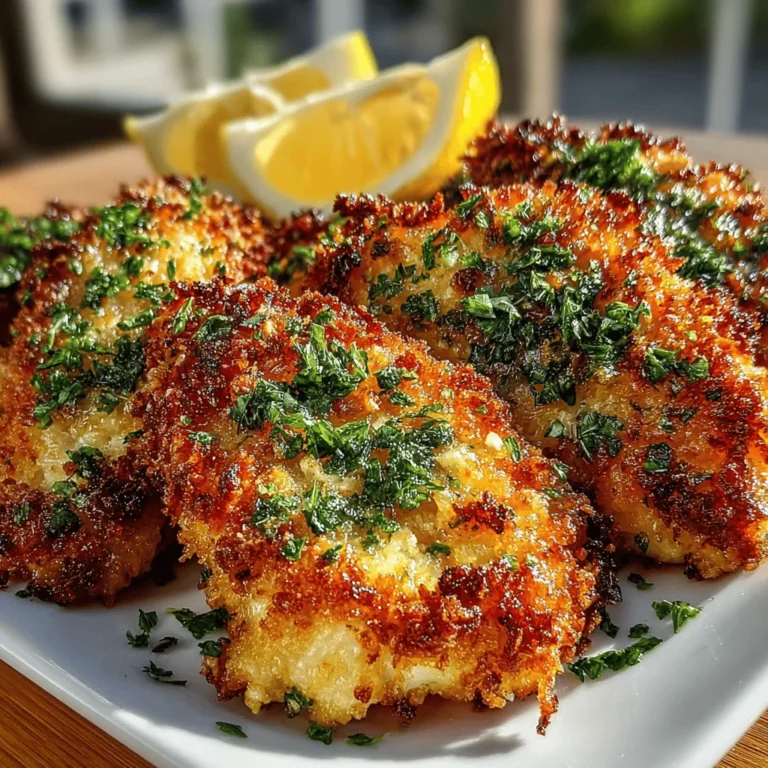
Crunchy Zesty Oven-Baked Chicken Tenders
Chicken tenders are a quintessential favorite in many households, loved for their tender meat and crispy exterior. Whether you’re enjoying them at a restaurant or whipping them up at home, chicken tenders have a universal appeal that transcends age and culinary preference. For those looking to enjoy this beloved dish without the guilt that often accompanies fried foods, we present a healthier alternative: Crunchy Zesty Oven-Baked Chicken Tenders. This recipe not only satisfies your craving for crunch but also delivers a vibrant zesty flavor profile that elevates the humble chicken tender to new heights.
The beauty of this oven-baked version lies in its ability to replicate the crispy texture of traditional fried tenders while significantly reducing the amount of oil used in cooking. By using the right ingredients and techniques, you can achieve a delightful crunch that is both satisfying and nutritious.
Understanding the Ingredients
To create the perfect Crunchy Zesty Oven-Baked Chicken Tenders, understanding the role of each ingredient is essential. The primary components of this recipe include chicken breast tenders, buttermilk, panko breadcrumbs, and a selection of spices that come together to create the ultimate flavor burst.
Chicken Breast Tenders
At the heart of this recipe are chicken breast tenders, which are not only a great source of lean protein but also provide a tender and juicy bite. Chicken breast is lower in fat compared to other cuts of chicken, making it an excellent choice for those looking to maintain a healthier diet. Additionally, it’s versatile and easily absorbs flavors, making it perfect for marinating.
Buttermilk
One of the secrets to achieving moist and flavorful chicken tenders is the use of buttermilk. This tangy dairy product acts as a marinade, tenderizing the meat and infusing it with flavor. The acidity in buttermilk helps to break down protein, resulting in a tender texture that contrasts beautifully with the crunchy exterior. For this recipe, we recommend using buttermilk mixed with a splash of hot sauce to add depth and a touch of heat to the flavor profile.
Panko Breadcrumbs
When it comes to achieving that desirable crunch, panko breadcrumbs are the star of the show. Unlike regular breadcrumbs, which can become soggy, panko is coarser and lighter, allowing for a crispier finish when baked. The unique texture of panko ensures that you get a satisfying crunch with every bite, making it an ideal choice for oven-baked recipes.
Spices and Seasonings
A well-rounded flavor profile is crucial for making these chicken tenders truly zesty. In this recipe, we incorporate garlic powder, onion powder, smoked paprika, oregano, salt, and black pepper. Each of these ingredients brings something special to the table:
– Garlic Powder and Onion Powder: These add depth and savory notes that enhance the overall flavor.
– Smoked Paprika: This spice offers a subtle smokiness that elevates the taste and adds a beautiful color to the tenders.
– Oregano: This herb contributes a fresh, aromatic quality that complements the other flavors.
– Salt and Black Pepper: Essential for seasoning, these staples ensure that the tenders are flavorful throughout.
Marinating the Chicken
Marinating is a crucial step in the preparation process that significantly impacts the flavor and texture of the chicken tenders. For this recipe, we recommend marinating the chicken strips in a mixture of buttermilk and hot sauce, which not only tenderizes the meat but also infuses it with zesty flavor.
Importance of Marinating
The marination process allows the buttermilk to penetrate the chicken, making it juicier and more flavorful. The hot sauce adds a kick, creating a delicious contrast to the crispy coating that will soon envelop the tenders.
Suggested Marination Times
For optimal results, marinate the chicken for at least 30 minutes, though 2 hours is ideal. If time permits, marinating overnight in the refrigerator will yield the best flavor and tenderness. Make sure to cover the bowl with plastic wrap or transfer the chicken to a resealable bag to prevent contamination and ensure even marination.
Tips for Achieving the Best Marination
To ensure that every piece of chicken is evenly coated, it’s essential to give the chicken strips a good toss in the buttermilk mixture. This not only helps in flavor distribution but also ensures that the coating adheres properly during the breading process. Always refrigerate the chicken while marinating to prevent bacterial growth.
Preparing the Oven and Breading Stations
Before you begin the breading process, it’s crucial to prepare your oven and set up your breading stations for efficiency.
Preheating the Oven
Preheating your oven is an essential step in baking chicken tenders. A properly heated oven ensures that the tenders cook evenly and develop a crispy exterior. Set your oven to 425°F (220°C) for optimal baking conditions. This temperature is ideal for achieving that golden-brown color and crunchy texture without frying.
Setting Up the Breading Stations
Creating a designated breading station is key to an organized cooking process. You’ll need three shallow dishes for this task: one for the marinated chicken, one for the dry ingredients (a mixture of panko breadcrumbs and spices), and one for the egg wash.
1. Marinated Chicken: Start with the bowl containing your buttermilk-marinated chicken strips. This will be the first step in the breading process.
2. Dry Ingredients: In the second bowl, combine panko breadcrumbs with your chosen spices. This mixture will form the crunchy exterior of your tenders. The spices not only enhance the flavor but also add visual appeal.
3. Egg Wash: In a separate dish, whisk together one or two eggs with a splash of water or milk. The egg wash acts as a glue, helping the breadcrumbs adhere to the chicken.
Importance of the Order in Coating
The order in which you coat the chicken is crucial for achieving maximum crunchiness. Start by taking a piece of marinated chicken and allowing any excess buttermilk to drip off. Then, dip it into the egg wash, ensuring it is well-coated. Finally, transfer the chicken to the breadcrumb mixture, pressing down gently to ensure a good coating. Repeat this process for each piece of chicken, arranging them on a baking sheet lined with parchment paper for easy cleanup.
By following these steps, you’ll be well on your way to creating deliciously crunchy and zesty oven-baked chicken tenders that are sure to impress family and friends alike. Stay tuned for the next part of the recipe where we’ll delve into the baking process and tips for serving!

Step-by-Step Guide on Dredging Chicken in Flour and Panko
To achieve the irresistible crunch of our zesty oven-baked chicken tenders, the dredging process is crucial. Here’s how to do it effectively:
1. Prepare Your Dredging Station: Set up three shallow dishes. In the first dish, add seasoned flour (flour mixed with salt, pepper, and any other spices you desire). In the second dish, whisk together eggs and a splash of milk or buttermilk. In the third dish, pour in panko breadcrumbs mixed with zest from lemon or lime, paprika, and any additional seasonings.
2. Coating the Chicken: Start with the first chicken tender. Dip it into the flour, coating it evenly. Shake off any excess flour before moving to the egg mixture. Make sure the egg coats the chicken completely, allowing the breadcrumbs to stick.
3. Pressing for Adherence: After the egg bath, transfer the chicken tender to the panko mixture. Here’s where the magic happens—press the chicken firmly into the crumbs. This step is vital; pressing ensures that the crumbs adhere well, creating a thick, crispy layer once baked. Repeat this process for all chicken tenders.
4. Visual Cues: You’ll know the chicken is properly coated when it has an even layer of panko, with no bare spots visible. The coating should appear thick and textured, ready to create a crunchy crust in the oven.
Baking for Perfection
Baking Methods
When it comes to baking chicken tenders, the method you choose can greatly impact the final result. Here are some effective techniques:
– Single Layer on Baking Sheet: Place the coated chicken tenders on a lined baking sheet, ensuring they are not crowded. This helps the heat circulate evenly around each piece.
Why Flipping the Tenders is Essential
Flipping the tenders midway through baking is essential for achieving an even cook and golden-brown finish on both sides. This also allows for any excess moisture to escape, keeping the tenders crispy rather than soggy.
Optimal Baking Time and Temperature
Preheat your oven to 425°F (220°C). Bake the chicken tenders for 15-20 minutes, flipping them halfway through the cooking time. The optimal baking time can vary based on the thickness of your chicken tenders, so keep an eye on them as they bake.
Indicators of Doneness
To ensure your chicken tenders are cooked to perfection, use a meat thermometer. The internal temperature should reach at least 165°F (74°C). Additionally, the tenders should be golden brown with a crispy exterior. A visual cue is when the juices run clear, indicating they are done.
Importance of Using Olive Oil Spray
For extra crispiness, a light spray of olive oil on the coated chicken tenders before baking can enhance browning and crunch. This technique adds a subtle richness while keeping the dish healthy and light.
Garnishing and Serving Suggestions
Creative Ways to Serve Chicken Tenders
Transform your chicken tenders into a delightful meal by serving them in various ways:
– Classic Platter: Arrange the tenders on a large platter alongside colorful garnishes like sliced cucumbers, cherry tomatoes, and lemon wedges.
– Wraps and Sandwiches: Use the tenders as a filling for wraps or sandwiches, adding fresh greens and your favorite sauces for a fun twist.
Suggested Dipping Sauces
Complement the zesty flavor of your chicken tenders with various dipping sauces. Here are some delicious options:
– Zesty Ranch: A classic choice, this creamy ranch dressing with added lime zest pairs perfectly with the tenders.
– Honey Mustard: The sweetness of honey balanced with tangy mustard creates a delightful contrast to the crunchy chicken.
– Spicy Aioli: Combine mayonnaise, garlic, and a touch of hot sauce for a creamy, spicy kick.
Presentation Ideas
To elevate your dish for family meals or gatherings, consider these presentation ideas:
– Garnish with Fresh Herbs: Sprinkle chopped parsley or cilantro over the tenders for a burst of color and freshness.
– Serve in Mason Jars: For a fun and rustic presentation, layer tenders in mason jars with dipping sauces at the bottom.
Healthier Side Options
Pair your chicken tenders with nutritious sides to make it a complete meal. Consider these healthier options:
– Roasted Vegetables: A medley of seasonal vegetables roasted with olive oil and herbs offers a colorful and nutritious side.
– Quinoa Salad: A light quinoa salad with diced cucumbers, cherry tomatoes, and a lemon vinaigrette complements the tenders beautifully.
– Sweet Potato Fries: Baked sweet potato fries are an excellent alternative to traditional fries, adding a sweet touch to your meal.
Nutritional Information
Breakdown of the Nutritional Content per Serving
When prepared as directed, each serving of crunchy zesty oven-baked chicken tenders (approximately 4 tenders) offers a balanced profile:
– Calories: 320
– Protein: 28g
– Fat: 10g
– Carbohydrates: 30g
This makes them a satisfying option that fits well into a balanced diet.
Discussion on Dietary Considerations
For those with dietary restrictions, this recipe can be easily adapted:
– Gluten-Free Options: Substitute regular flour with a gluten-free blend and use gluten-free panko breadcrumbs for the coating.
– Alternative Ingredients: For a dairy-free option, replace the egg with a flax egg (1 tablespoon ground flaxseed mixed with 2.5 tablespoons of water) or use non-dairy milk.
Conclusion
In summary, these crunchy zesty oven-baked chicken tenders are a delightful addition to your recipe collection. They offer a healthier alternative to fried tenders without sacrificing flavor or crunch. Perfect for a family dinner or meal prep, this recipe is not only easy to follow but also versatile enough to please both adults and children.
Encouraging your family to join in the preparation can turn cooking into a fun and engaging activity. With various serving suggestions and dipping sauces, you can customize the meal to suit everyone’s preferences. So gather your ingredients, follow the steps, and enjoy the satisfaction of creating this delicious dish that everyone will adore.


