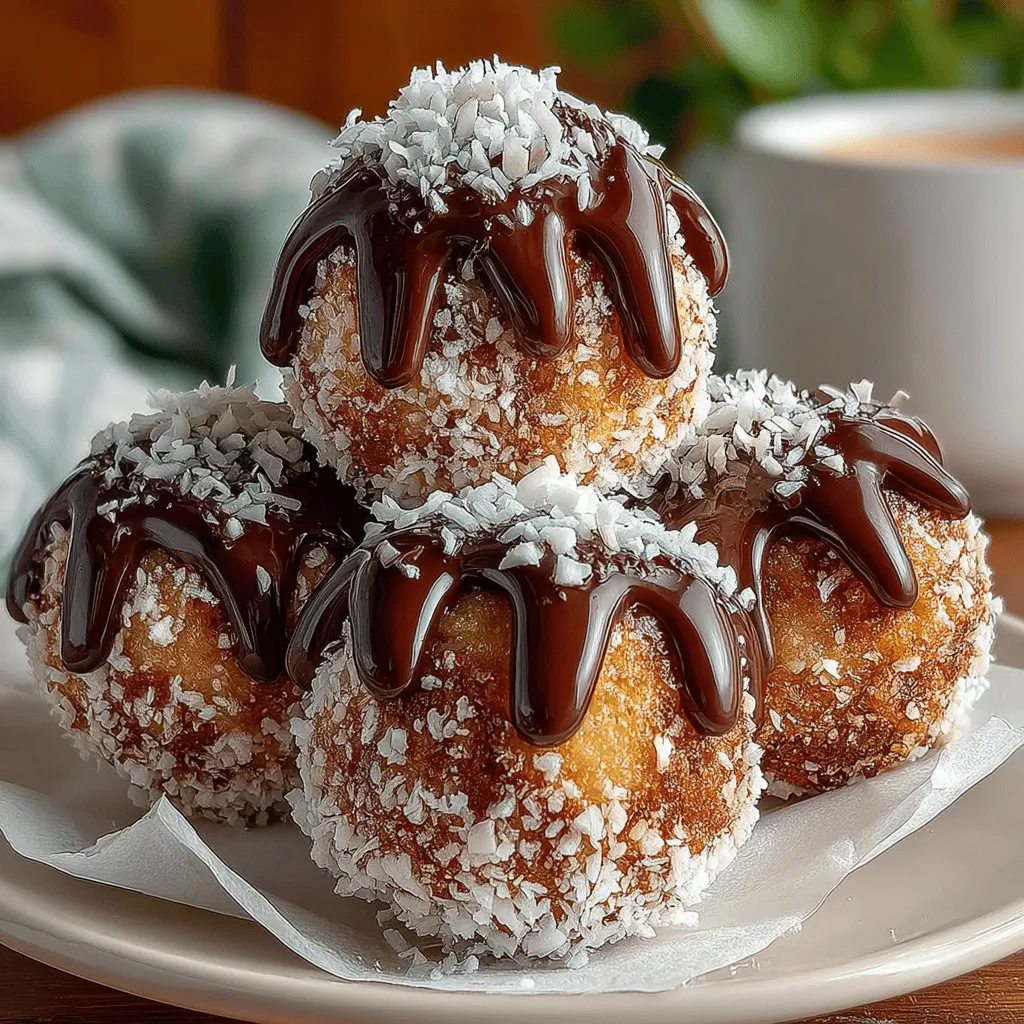
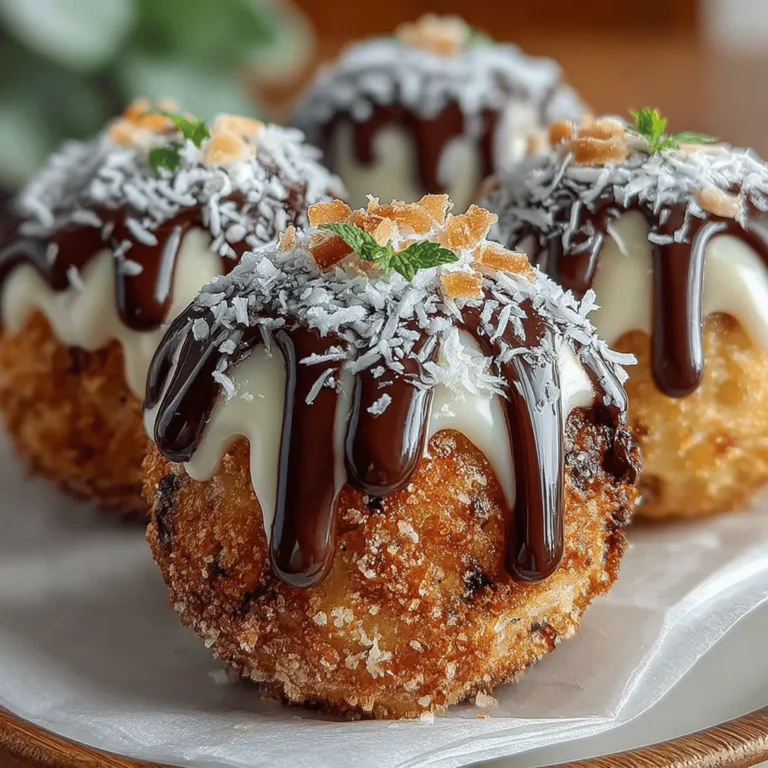
Chocolate Coconut Bliss Balls: A Nutritious Delight
In recent years, the demand for healthy snacks has soared as more individuals seek to maintain a balanced diet without sacrificing flavor. As people become more health-conscious, they are increasingly turning to nutritious alternatives that satisfy their sweet cravings. Among these delicious options, Chocolate Coconut Bliss Balls have emerged as a popular choice. These bite-sized treats are not only indulgent but also pack a nutritional punch, making them an ideal snack for anyone looking to nourish their body while enjoying a delightful treat.
Chocolate Coconut Bliss Balls are a perfect fusion of rich chocolate flavor and tropical coconut essence, creating a snack that is both satisfying and wholesome. They are incredibly versatile, serving as a quick energy boost for athletes, a post-workout recovery snack, or a delightful dessert for health-conscious individuals. The recipe is simple to follow, requiring minimal ingredients, yet it yields a product that feels decadent.
The Benefits of the Ingredients
What truly sets Chocolate Coconut Bliss Balls apart is the wholesome ingredients that contribute to their nutritional profile. Each component is thoughtfully selected for its health benefits, ensuring that these treats not only taste good but also support your health goals.
1. Unsweetened Shredded Coconut: This ingredient is rich in healthy fats, particularly medium-chain triglycerides (MCTs), which are known for their ability to boost metabolism and provide a quick source of energy. Additionally, shredded coconut is an excellent source of dietary fiber, which aids in digestion and promotes a feeling of fullness.
2. Almond Flour: A staple in gluten-free cooking, almond flour is ground from whole almonds and is packed with protein and healthy fats. It’s lower in carbohydrates compared to traditional flours, making it a great option for those following a low-carb or ketogenic diet. The high protein content also helps to keep you satiated.
3. Pitted Dates: These natural sweeteners bring a deep caramel flavor to the bliss balls while providing essential nutrients. Dates are high in dietary fiber, which supports digestive health, and they offer a quick source of energy due to their natural sugars. They also contain various vitamins and minerals, including potassium, magnesium, and vitamin B6.
4. Cocoa Powder: Not only does cocoa powder enhance the chocolate flavor, but it is also packed with antioxidants, particularly flavonoids, which are known for their heart-health benefits. The rich, deep taste of cocoa can help satisfy chocolate cravings without the need for added sugars.
5. Honey or Maple Syrup: As natural sweeteners, both honey and maple syrup provide a unique flavor profile while being less processed than refined sugars. They contain beneficial nutrients; honey has antibacterial properties and can soothe sore throats, while maple syrup is rich in antioxidants and minerals like zinc and manganese.
6. Vanilla Extract: This aromatic ingredient not only enhances the overall flavor but also has antioxidant properties. Vanilla can help improve mood and reduce stress, making it a delightful addition to this recipe.
7. Salt: A pinch of salt is crucial in any dessert, as it enhances the sweetness and balances flavors. The inclusion of salt in Chocolate Coconut Bliss Balls amplifies the chocolate and coconut notes, making each bite more enjoyable.
Step-by-Step Guide to Making Chocolate Coconut Bliss Balls
Creating your own Chocolate Coconut Bliss Balls at home is a straightforward process that can be completed in just a few simple steps. Here’s how to get started:
Preparing the Dates
The first step in making these bliss balls is to prepare the pitted dates. Fresh dates can be quite firm, so it’s essential to soften them to achieve the right texture for your mixture. One effective method is to soak them in warm water for about 10 to 15 minutes. This rehydrates the dates, making them easier to blend into a smooth paste. After soaking, drain the water and pat the dates dry with a paper towel to remove excess moisture. This step is crucial because it ensures that your bliss balls will have the perfect consistency—sticky enough to hold together but not overly wet.
Combining Dry Ingredients
While the dates are soaking, you can begin combining the dry ingredients. In a food processor, add the unsweetened shredded coconut and almond flour. The ratio of these two ingredients can vary based on personal preference; for a more pronounced coconut flavor, you might increase the quantity of shredded coconut. Pulse the mixture a few times to combine them evenly. This initial blending helps to create a uniform base for your bliss balls and ensures that each bite is consistent in texture.
Blending Wet Ingredients
Once your dry ingredients are combined, it’s time to blend the wet ingredients. Transfer the softened dates to the food processor, along with the cocoa powder, honey or maple syrup, vanilla extract, and a pinch of salt. Blend everything together until the mixture is creamy and smooth. You may need to scrape down the sides of the bowl occasionally to ensure that all ingredients are well incorporated. The goal is to achieve a thick, sticky batter that will easily form into balls. If the mixture feels too dry, you can add a splash of water or a bit more honey/maple syrup to reach the desired consistency.
With these initial steps completed, you’re well on your way to creating delicious, nutritious Chocolate Coconut Bliss Balls. The next part of the process will involve shaping the mixture into bite-sized balls and rolling them in additional shredded coconut for a beautiful finish. Stay tuned for the next section, where we will delve into those final steps to create your perfect healthy snack.

Mixing it All Together: Techniques for Ensuring a Cohesive Dough
To create the perfect Chocolate Coconut Bliss Balls, the mixing process is crucial. Start by placing all your dry ingredients in a large mixing bowl. This typically includes shredded coconut, cocoa powder, and any sweeteners like maple syrup or honey. Mix these dry ingredients thoroughly to ensure an even distribution of flavors.
Next, gradually add your wet ingredients, which may include coconut oil and vanilla extract. It’s essential to incorporate these wet ingredients slowly while stirring. Use a spatula or a wooden spoon to combine the mixture, ensuring that all the dry ingredients are moistened evenly. If you find the mixture too crumbly, don’t hesitate to add a splash of almond milk or water, one tablespoon at a time, until a cohesive dough forms. The texture should be sticky yet firm enough to hold its shape when rolled into balls.
Forming the Balls: Guidelines for Size and Rolling Techniques
Once your dough is mixed to perfection, it’s time to shape it into bliss balls. Use a small cookie scoop or your hands to portion out the dough. Aim for about one inch in diameter for each ball, but feel free to adjust based on your preference. If you’re looking for bite-sized snacks, smaller balls work well, while larger balls can serve as a more substantial treat.
When rolling the balls, ensure your hands are slightly dampened to prevent the mixture from sticking to your palms. Gently roll each portion between your palms until they form a smooth, round shape. For an extra touch, you can roll the formed bliss balls in additional shredded coconut or cocoa powder to create a beautiful outer layer that enhances both flavor and presentation.
Chilling the Bliss Balls: Importance of Refrigeration for Texture
After shaping your Chocolate Coconut Bliss Balls, chilling them is a crucial step that should not be overlooked. Place the balls on a baking sheet lined with parchment paper and refrigerate them for at least 30 minutes. This chilling period allows the flavors to meld together and helps the balls firm up, making them easier to handle and eat.
Refrigeration also significantly improves the texture of the bliss balls. Cold bliss balls are denser and provide a satisfying bite, while also enhancing the rich, chocolatey flavor. If you prefer a softer texture, you can enjoy them right after rolling; however, for the best experience, a little patience during the chilling phase pays off.
Optional Chocolate Drizzle: How to Achieve the Perfect Drizzle and Its Appeal
For an indulgent touch, consider adding a chocolate drizzle to your bliss balls. To create this delightful finishing touch, melt some dairy-free chocolate chips in a microwave-safe bowl. Heat them in 20-second increments, stirring in between, until completely melted and smooth.
Once melted, use a fork or a piping bag to drizzle the chocolate over the chilled bliss balls. This not only elevates the appearance but also intensifies the chocolate flavor, making your bliss balls even more irresistible. Allow the drizzle to set before serving. You can place the bliss balls back in the refrigerator for a few minutes to speed up the process.
Nutritional Information
Breakdown of the Nutritional Content Per Serving
Each Chocolate Coconut Bliss Ball is not only delicious but also packed with nutrients. On average, one bliss ball contains approximately:
– Calories: 100
– Protein: 2g
– Fat: 5g (mostly from healthy fats)
– Carbohydrates: 12g
– Fiber: 2g
– Sugar: 4g (natural sugars from maple syrup and coconut)
Comparison with Store-Bought Snacks
When compared to typical store-bought snacks, Chocolate Coconut Bliss Balls stand out as a healthier alternative. Many commercial snacks are loaded with artificial ingredients, refined sugars, and preservatives, whereas these bliss balls are made from whole, natural ingredients. By opting for homemade bliss balls, you can enjoy a guilt-free snack without sacrificing flavor or nutrition.
Discussion on Portion Control and Healthy Snacking
Portion control is essential when it comes to healthy snacking. It’s easy to overindulge in store-bought snacks that are often designed to be consumed in larger quantities. With Chocolate Coconut Bliss Balls, you have the advantage of portion control built right in—each ball is a satisfying, pre-measured treat. Enjoy one or two as a post-workout snack or pick-me-up during the day without the worry of excessive calories.
Customizing Your Bliss Balls
Variations to Consider: Adding Nuts, Seeds, or Superfoods
One of the best aspects of Chocolate Coconut Bliss Balls is their versatility. Feel free to customize your recipe by adding your favorite nuts or seeds. Chopped almonds, walnuts, or chia seeds can introduce a delightful crunch and additional nutrients. For an even healthful boost, consider incorporating superfoods like maca powder, spirulina, or ground flaxseeds.
Substituting Ingredients: Suggestions for Dietary Restrictions (Vegan, Nut-Free)
If you have specific dietary restrictions, it’s easy to adapt this recipe. For a nut-free option, ensure you use seeds instead of nuts and check that your chocolate is also nut-free. To keep the recipe vegan, simply stick to maple syrup or agave syrup as your sweetener, and use dairy-free chocolate for drizzling.
Flavor Enhancements: Additional Spices or Extracts to Experiment With
Don’t hesitate to experiment with flavor enhancements! A pinch of cinnamon or a dash of sea salt can elevate the flavor profile of your bliss balls. You might also consider adding extracts like almond or peppermint for a unique twist. Play around with different combinations until you find your perfect bliss ball!
Storage Tips and Shelf Life
Best Practices for Storing Chocolate Coconut Bliss Balls
To keep your Chocolate Coconut Bliss Balls fresh and delicious, proper storage is key. Place the bliss balls in an airtight container and store them in the refrigerator. This helps maintain their texture and prevents them from drying out. You can also layer parchment paper between the balls if stacking them in the container to prevent sticking.
Information on Shelf Life and How to Keep Them Fresh Longer
When stored correctly, Chocolate Coconut Bliss Balls can last up to two weeks in the refrigerator. For longer shelf life, consider freezing them. Simply place the bliss balls in a freezer-safe container, separating layers with parchment paper. They can last up to three months in the freezer. When you’re ready to enjoy them, simply take them out of the freezer and allow them to thaw at room temperature or in the refrigerator.
Conclusion
In summary, Chocolate Coconut Bliss Balls are not only a treat for your taste buds but also a nutritious addition to your snacking repertoire. Packed with healthy fats, fiber, and protein, they offer a guilt-free way to satisfy your sweet tooth while fueling your body with wholesome ingredients. Whether you enjoy them as a post-workout snack, a midday pick-me-up, or a dessert option, these bliss balls are versatile enough to fit into any healthy lifestyle.
We encourage you to try making these delightful treats at home, experimenting with flavors and ingredients that suit your preferences. Incorporating Chocolate Coconut Bliss Balls into your routine can make healthy snacking enjoyable and convenient. So why not indulge in making your own batch today? Enjoy these bliss balls as a wholesome treat that nourishes both your body and soul.


