
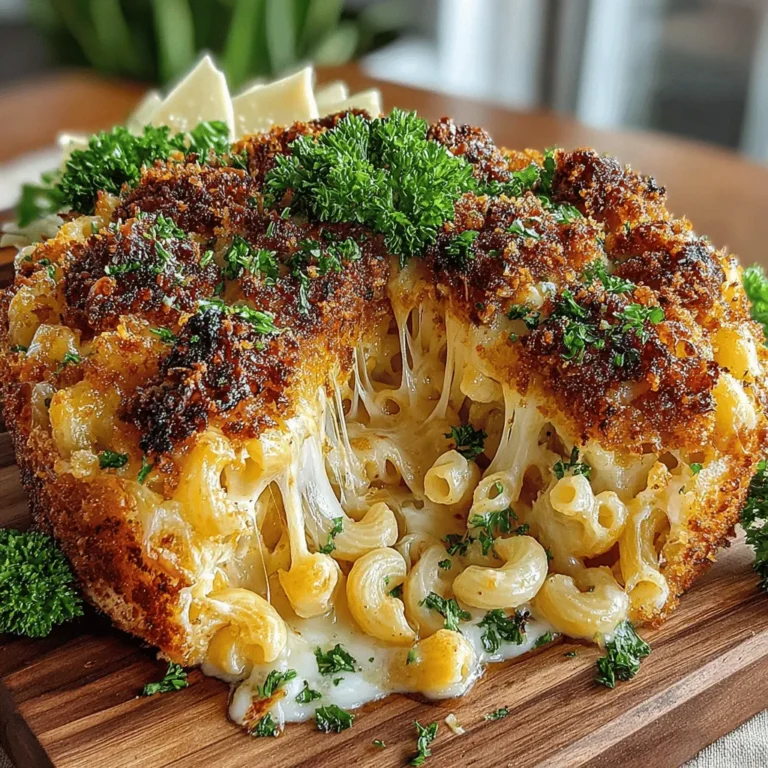
Creamy Comfort Baked Mac and Cheese: A Heartwarming Classic
There’s something truly magical about a warm, cheesy dish of baked macaroni and cheese that can instantly transport us back to our childhood. The mere thought of it evokes memories of family gatherings and cozy evenings spent around the dinner table. I still remember the first time I had homemade mac and cheese at my grandmother’s house. The aroma wafting through her kitchen, the bubbling cheese sauce, and the crispy layer of breadcrumbs made for an unforgettable experience. It was comfort food at its finest, and every bite felt like a warm embrace.
Mac and cheese has a rich history, with roots tracing back to Italy in the 18th century. The dish evolved over time, gaining popularity in America during the Great Depression as an affordable meal. Today, it has become a beloved staple in many households, with countless variations and adaptations. While some may prefer the ease of boxed versions, nothing compares to the satisfaction of creating a homemade dish from scratch.
Today, I want to share with you my version of this classic dish—Creamy Comfort Baked Mac and Cheese. This recipe is a delightful blend of sharp cheddar and Gruyère cheeses, enriched with a velvety cheese sauce, and baked to perfection with a crispy breadcrumb topping. The combination of flavors and textures makes this dish a standout for any occasion. Whether you’re looking for a cozy family dinner, a potluck contribution, or just a comforting meal after a long day, this recipe is sure to please.
Ingredients You’ll Need
To create this delicious mac and cheese, you’ll need the following ingredients:
– 8 ounces elbow macaroni: The classic choice for mac and cheese, these small pasta shapes hold the cheesy sauce beautifully.
– 4 tablespoons unsalted butter: Adds richness and flavor to the cheese sauce.
– 1/4 cup all-purpose flour: This will help thicken your cheese sauce.
– 4 cups whole milk: For a creamy, luscious sauce that’s not too thick or too thin.
– 1 teaspoon Dijon mustard: A secret ingredient that adds a subtle tanginess.
– 1/2 teaspoon garlic powder: Enhances the flavor profile without overpowering the cheese.
– 1/2 teaspoon onion powder: Another layer of flavor that complements the dish beautifully.
– 1/4 teaspoon cayenne pepper: Optional, but it adds a delightful kick if you’re feeling adventurous.
– 1 teaspoon salt: Essential for seasoning the sauce.
– 1/2 teaspoon black pepper: Adds a touch of warmth and flavor.
– 3 cups shredded sharp cheddar cheese: The star of the show! Sharp cheddar gives a bold flavor.
– 1 cup shredded Gruyère cheese: This Swiss cheese adds a nutty, creamy element.
Getting Started: The Initial Steps
Before diving into the cooking process, let’s prepare our workspace and ingredients. First, gather all the ingredients listed above. Having everything ready will streamline the cooking experience and make it more enjoyable.
Step 1: Cook the Pasta
Begin by bringing a large pot of salted water to a rolling boil. Once boiling, add the elbow macaroni and cook according to the package instructions until al dente, usually about 7-8 minutes. Be sure to stir occasionally to prevent the pasta from sticking. Al dente pasta will hold up better when baked, ensuring that it doesn’t become mushy. Once cooked, drain the macaroni in a colander and set it aside. It’s important to let it cool slightly so that it doesn’t clump together.
Step 2: Prepare the Cheese Sauce
In the same pot (you can save on dishes!), melt the unsalted butter over medium heat. Once the butter is fully melted and begins to bubble, sprinkle in the all-purpose flour. Whisk continuously for about 2-3 minutes to create a roux, which will serve as the base for your cheese sauce. The goal here is to cook off the raw flour taste without browning the mixture too much.
As the roux cooks, gradually pour in the whole milk while continuing to whisk. This will help prevent lumps from forming. Keep whisking until the mixture thickens and begins to bubble, which usually takes about 5-7 minutes. You want a smooth, creamy consistency that will coat the back of a spoon.
Once your milk mixture is thickened, it’s time to enhance the flavor. Stir in the Dijon mustard, garlic powder, onion powder, cayenne pepper (if using), salt, and black pepper. This combination of spices will elevate the taste of the cheese sauce, providing a depth of flavor that complements the cheeses beautifully.
Step 3: Add the Cheese
Now comes the most exciting part: adding the cheese! Remove the pot from the heat and gradually mix in the shredded sharp cheddar and Gruyère cheeses. Stir until the cheeses are fully melted and the sauce is smooth and creamy. Make sure to reserve a small handful of cheeses for the topping later.
With the cheese sauce ready, it’s time to combine it with the macaroni. Add the drained pasta to the sauce, gently folding it in until all the noodles are well-coated. This step is crucial for ensuring that every bite of macaroni is bursting with cheesy goodness.
At this point, you can taste the mixture and adjust the seasoning if necessary. Remember, the flavors will intensify during baking, so it’s wise to err on the side of slightly under-seasoning.
Step 4: Assemble and Prepare for Baking
Preheat your oven to 350°F (175°C). While your oven heats up, prepare a 9×13-inch baking dish by lightly greasing it with cooking spray or butter. This will prevent the mac and cheese from sticking to the sides of the dish as it bakes.
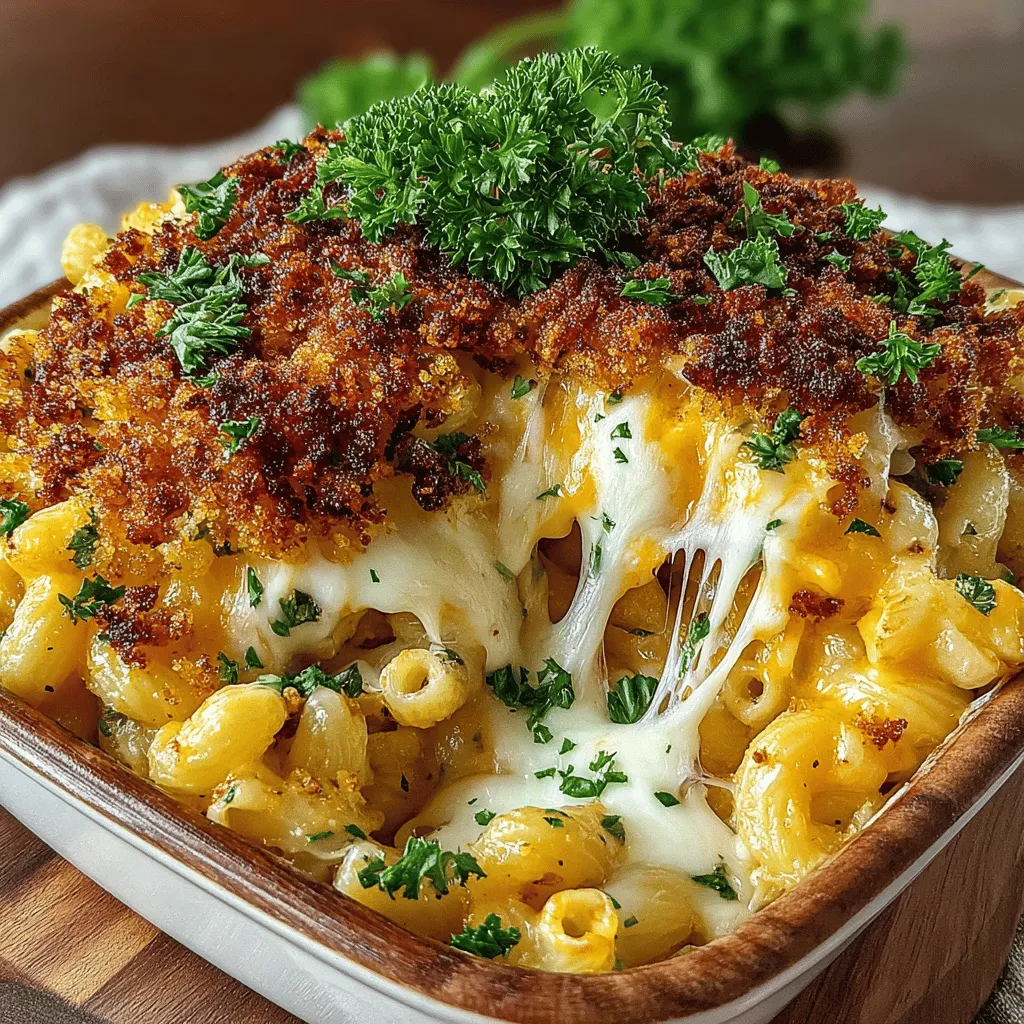
Transfer the cheesy macaroni mixture into the prepared baking dish, spreading it evenly. For the finishing touch, sprinkle the reserved cheese on top, followed by a layer of breadcrumbs for that signature crispy topping. If desired, you can mix a bit of melted butter with the breadcrumbs to enhance their golden-brown color and crunch.
Now your dish is ready for the oven!
This creamy comfort baked mac and cheese is not only a delightful dinner option but also a nostalgic trip down memory lane. As the dish bakes, the aroma will fill your kitchen, making it hard to resist sneaking a taste before it’s fully cooked. Stay tuned for the next part of this article, where we’ll cover the baking process and some serving suggestions that will make this dish the star of your meal.
Mac and cheese is a dish that evokes a sense of nostalgia, bringing warmth and comfort to the table. In this section, we’ll share essential tips to ensure your Creamy Comfort Baked Mac and Cheese turns out perfectly every time, along with serving suggestions that will elevate your dish. We will also wrap up with some concluding thoughts to inspire you to make this delightful recipe.
Tips & Tricks for the Perfect Mac and Cheese
Creating the perfect baked mac and cheese involves a few crucial steps and tips that can make all the difference. Here are some insights to enhance your cooking experience:
Choose the Right Pasta
– Elbow Macaroni: While elbow macaroni is traditional, you can experiment with other shapes like cavatappi, shells, or penne. These shapes hold onto the cheese sauce beautifully.
– Cook Al Dente: It’s important to cook the pasta until just al dente, as it will continue to cook in the oven. This prevents mushiness and ensures a pleasing texture.
Cheese Selection Matters
– Mix and Match: While cheddar and Gruyère are excellent choices, consider incorporating other cheeses like fontina, mozzarella, or even a touch of blue cheese for a unique flavor profile.
– Freshly Shredded: Always opt for freshly shredded cheese instead of pre-shredded varieties. Pre-packaged cheese often contains anti-caking agents that can affect the creaminess of your sauce.
Perfecting the Sauce
– Roux Technique: When making the roux, ensure you whisk continuously to avoid lumps and achieve a smooth consistency. Cooking it for 1-2 minutes helps eliminate the raw flour taste.
– Gradual Milk Addition: When whisking in the milk, do it gradually to prevent any lumps from forming.
Flavor Enhancements
– Spices and Seasonings: Feel free to adjust the seasonings according to your taste. Add a pinch of smoked paprika for a hint of smokiness or a sprinkle of nutmeg to deepen the flavor.
– Garlic and Onion: Fresh garlic and finely chopped onions can be sautéed in the butter before adding the flour for an extra layer of flavor.
Topping Tips
– Breadcrumb Variations: Instead of plain breadcrumbs, you can use panko breadcrumbs for a crunchier topping or seasoned breadcrumbs to add additional flavor.
– Cheese Topping: For an extra cheesy crust, sprinkle some additional shredded cheese over the breadcrumb topping before baking.
Baking Perfectly
– Covering with Foil: If you notice that the top is browning too quickly, cover it loosely with aluminum foil for the last 10 minutes of baking. This will prevent burning while allowing the dish to cook through.
– Resting Period: Let the baked mac and cheese sit for about 5-10 minutes after removing it from the oven. This resting time allows the sauce to thicken slightly, making it easier to serve.
Serving Suggestions for Creamy Comfort Baked Mac and Cheese
Now that you’ve crafted a delicious batch of mac and cheese, let’s explore some creative serving suggestions that will make your dish shine:
Pairing with Proteins
– Grilled Chicken: A simple grilled chicken breast can make a perfect protein pairing, adding heartiness to your meal.
– Crispy Bacon or Pancetta: For a savory twist, crumble cooked bacon or pancetta over the top before serving. The salty, crunchy bits add an irresistible flavor contrast.
– Roasted Vegetables: Serve your mac and cheese alongside a medley of roasted vegetables, such as broccoli, Brussels sprouts, or asparagus, to add a nutritious element.
Garnishing for Flavor and Presentation
– Herbs and Greens: Fresh herbs like thyme, basil, or chives can add a burst of freshness. A light sprinkle just before serving enhances both flavor and visual appeal.
– Hot Sauce: For those who enjoy a kick, serve with a side of your favorite hot sauce. This adds an exciting flavor dimension and allows guests to adjust the heat level to their liking.
Creative Serving Ideas
– Mac and Cheese Cups: For a fun twist, portion your mac and cheese into muffin tins before baking. This creates individual servings that are perfect for parties or gatherings.
– Mac and Cheese Bar: Set up a mac and cheese bar at your next gathering with toppings like jalapeños, caramelized onions, different cheeses, and crispy shallots. Guests can customize their own bowls, making it interactive and fun.
Conclusion
Creamy Comfort Baked Mac and Cheese is not just a dish; it’s an experience of warmth, flavor, and nostalgia. With its creamy sauce, perfectly cooked pasta, and crunchy topping, it’s bound to be a hit at any table. By following the tips provided, you can ensure that your mac and cheese is executed flawlessly every time.
Whether you’re serving it as a comforting weeknight dinner, a side dish at a family gathering, or a fun mac and cheese bar at your next party, this recipe is sure to satisfy cravings and create lasting memories. So gather your ingredients, invite your loved ones over, and enjoy the heartwarming flavors of this classic comfort dish. Happy cooking!