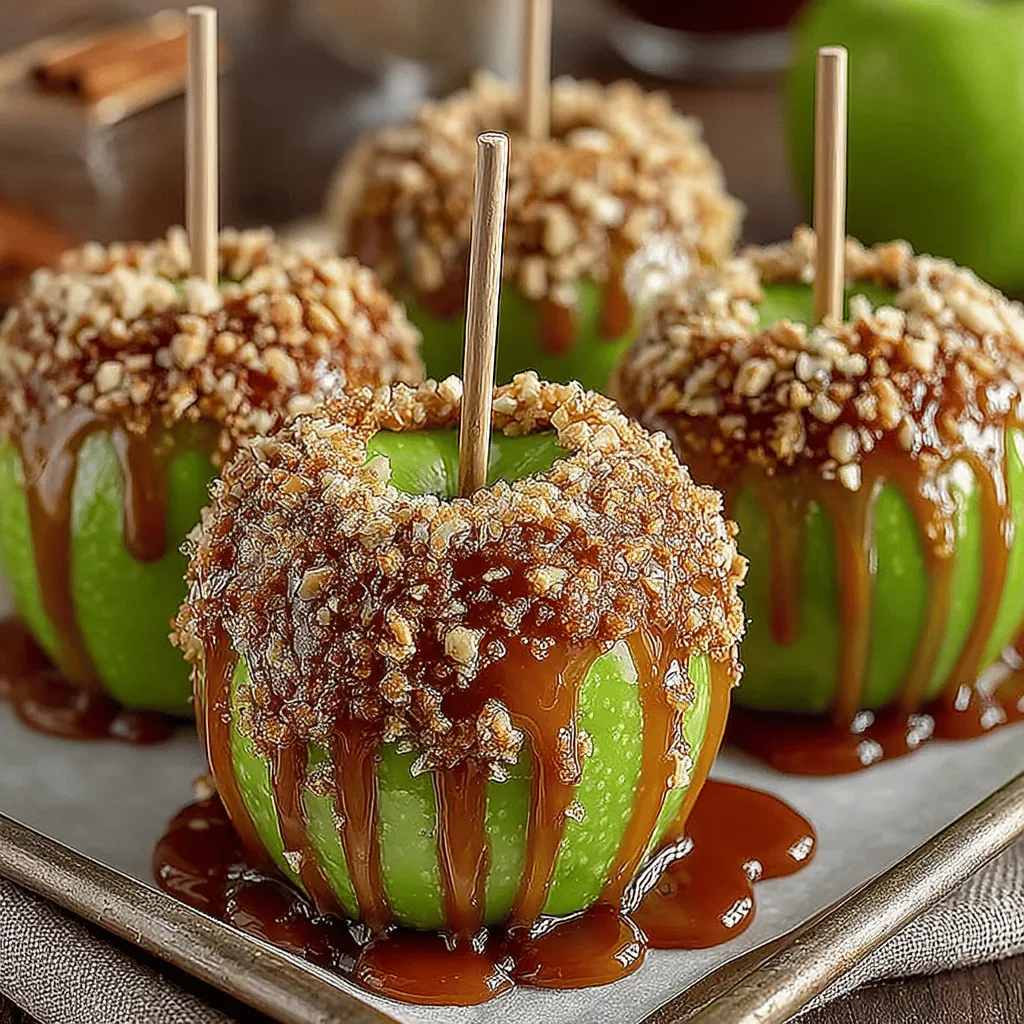
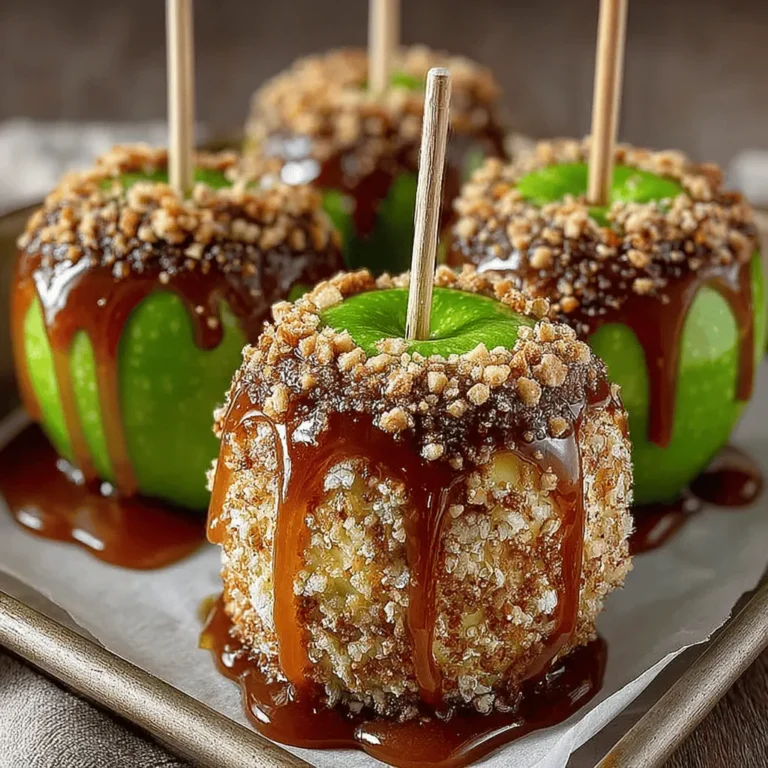
Sweet & Sticky Fall Delights: Homemade Caramel Apples
As the leaves change color and a crispness fills the air, the arrival of fall brings with it a wave of nostalgia. One of the quintessential autumn treats that many of us cherish is the caramel apple. This delightful confection has been a staple at fairs, festivals, and Halloween gatherings for generations, evoking memories of childhood excitement and seasonal joy. The combination of tart apples and rich, buttery caramel creates a flavor profile that is not just delicious but also deeply comforting.
While store-bought caramel apples have their charm, there’s something incredibly satisfying about crafting this treat at home. Making caramel apples from scratch allows you to control the ingredients, customize flavors, and even experiment with toppings to create a unique twist on this classic dessert. Whether you are hosting a family gathering, preparing for Halloween festivities, or simply indulging in a fall tradition, crafting homemade caramel apples is a fun and rewarding experience.
In this guide, we’ll walk you through the process of making sweet and sticky caramel apples, from understanding the essential ingredients to preparing your workspace and crafting the perfect caramel sauce. Get ready to embark on a delicious journey that will fill your kitchen with the warm aromas of fall.
Understanding the Ingredients for Perfect Caramel Apples
To create the ultimate caramel apple, it’s crucial to understand the role of each ingredient in the recipe. Let’s delve into the key components that will elevate your homemade caramel apples from good to extraordinary.
Granny Smith Apples
The backbone of every caramel apple is, of course, the apple itself. Granny Smith apples are a popular choice for this treat due to their tartness, which beautifully contrasts the sweetness of the caramel. This balance of flavors enhances the overall taste, making each bite a delightful experience. Furthermore, their firm texture ensures that they hold up well under the weight of the caramel, providing a satisfying crunch.
Granulated Sugar
The star ingredient in caramel-making is granulated sugar. When heated, sugar undergoes a process called caramelization, where it melts and transforms into a rich, golden syrup. This process is critical for developing the deep, complex flavors associated with caramel. Using high-quality granulated sugar will yield the best results, as impurities can affect the caramel’s consistency and flavor.
Unsalted Butter
Adding unsalted butter to your caramel mixture not only contributes to a creamy texture but also enhances the flavor. The richness of butter complements the sweetness of the sugar, creating a smooth and luxurious caramel. Using unsalted butter allows you to control the saltiness of the final product, ensuring that the flavor is well-balanced.
Heavy Cream
Heavy cream plays a vital role in achieving the smooth, glossy texture of your caramel. When combined with the caramelized sugar and butter, heavy cream adds richness and creaminess, transforming the mixture into a velvety sauce. The fat content in heavy cream helps to stabilize the caramel, preventing it from becoming too hard or grainy.
Vanilla Extract
To round out the flavor profile, vanilla extract is a must-have ingredient. It adds a warm, aromatic quality to the caramel, enhancing the overall taste experience. Using pure vanilla extract will provide the most authentic flavor, elevating your homemade caramel apples to gourmet status.
Salt
A pinch of salt is essential in caramel-making. It acts as a flavor enhancer, balancing the sweetness and adding depth to the caramel. This contrast makes the caramel more enjoyable and complex, ensuring that it doesn’t become overwhelmingly sweet.
Optional Toppings
While the classic caramel apple is delicious on its own, the fun doesn’t have to stop there. Consider adding various toppings to customize your treats. Chopped nuts, like pecans or almonds, add a delightful crunch and nutty flavor that pairs well with the sweetness of the caramel. Other options include crushed cookies, sprinkles, or even drizzles of chocolate for a more indulgent experience. The possibilities are endless, making it a perfect treat for sharing and creativity.
Preparing Your Workspace and Ingredients
Before diving into the caramel-making process, it’s essential to prepare your workspace effectively. A clean and organized kitchen not only makes the process more enjoyable but also ensures safety, especially when working with hot ingredients.
Cleaning and Drying the Apples
Start by thoroughly washing your Granny Smith apples under cool running water. It’s important to remove any wax or residues that may be present on the surface of the apples, as these can hinder the caramel’s ability to adhere. After washing, dry the apples completely with a clean towel. Moisture can cause the caramel to slide off, so this step is crucial for achieving that sticky goodness.
Preparing the Baking Sheet
Next, line a baking sheet with parchment paper. This will provide a non-stick surface for your caramel apples to cool on, preventing them from sticking and ensuring easy cleanup. Make sure the parchment paper is flat and secure, as any folds or wrinkles can affect the appearance of your finished apples.
Choosing and Inserting Wooden Sticks
Wooden sticks, often referred to as caramel apple sticks, are essential for easy handling and enjoying your treat. When selecting sticks, ensure they are sturdy and long enough to provide a good grip. To insert the sticks, gently push them into the center of each apple, aiming for the core. This will help stabilize the apple and make it easier to dip into the caramel later on. Aim for a depth of about halfway into the apple for optimal stability.
Step-by-Step Guide to Making Caramel Sauce
Now that you have your ingredients ready and workspace prepared, it’s time to make the caramel sauce. This part of the process is where the magic happens, transforming simple ingredients into a luscious, gooey treat that will coat your apples beautifully.
Combining Sugar, Butter, and Salt
In a medium-sized saucepan, combine granulated sugar, unsalted butter, and a pinch of salt. Place the saucepan over medium heat and stir gently using a wooden spoon or silicone spatula. It’s important to keep stirring to ensure even melting and prevent the sugar from burning. As the mixture heats, the sugar will begin to melt and combine with the butter, creating a syrupy consistency.
The Science Behind Boiling the Mixture
Once the sugar has completely melted and the mixture is bubbling, allow it to come to a boil without stirring. This is a crucial step in caramel cooking; boiling the mixture allows the sugar to caramelize properly. Use a candy thermometer to monitor the temperature, as accuracy is key to achieving the perfect caramel. Aim for a temperature of around 240°F (115°C) for soft-ball stage caramel. This stage ensures that your caramel will be thick enough to coat the apples without being too hard.
Handling Hot Caramel Safely
Be cautious during this process, as the caramel mixture will be extremely hot and can cause severe burns. Keep a close eye on the temperature and be prepared to remove the saucepan from the heat as soon as it reaches the desired temperature. Once you have achieved the right consistency, carefully remove the saucepan from the heat and slowly stir in the heavy cream and vanilla extract. The mixture will bubble up vigorously, so be cautious and stir until smooth.
With your homemade caramel sauce ready, you’re on the brink of creating a sweet fall masterpiece. Stay tuned for the next steps in our guide, where we’ll cover how to dip the apples and add those delicious toppings that will make your caramel apples truly unforgettable.

Whisking in Heavy Cream: Achieving a Smooth Texture
When it comes to making the perfect caramel for your apples, integrating heavy cream is a crucial step that can elevate your treat to gourmet status. As you whisk in the heavy cream, expect the caramel to bubble vigorously. This is a normal reaction as the temperature changes, and it’s important to keep stirring constantly to prevent any scorching. The key is to add the cream slowly; doing so will help the caramel maintain a smooth consistency.
To achieve that velvety texture, allow the caramel to simmer briefly after adding the cream. This gentle cooking will incorporate the cream thoroughly, making your caramel luxurious and less likely to harden too quickly upon cooling. Keep an eye on the color of the caramel as it transforms; it should become a rich, golden-brown hue, indicating that it’s ready for coating your apples.
Coating the Apples: Techniques for a Flawless Finish
With your caramel prepared, it’s time to dive into the fun part: coating the apples! Here are some best practices for achieving even coverage:
1. Preparation: Ensure your apples are clean and dry. A quick rinse under cool water followed by a thorough drying with a paper towel is ideal. This step is vital because moisture can cause the caramel to slide off.
2. Dipping Technique: Hold each apple by the stick and dip it into the warm caramel. Rotate the apple gently while submerging it to ensure an even coat. You can submerge the apple up to the stick for a thicker layer of caramel.
3. Excess Caramel Handling: After dipping, lift the apple out of the caramel and allow any excess to drip back into the pot. You can gently shake the apple from side to side to encourage the caramel to fall away. Avoid tapping the apple on the pot’s edge, as this can create unsightly drips.
4. Creating a Professional Finish: For a sleek look, consider using a spoon to help smooth out any uneven areas on the apple after dipping. Allow the caramel-coated apples to sit on parchment paper or a silicone baking mat to set without sticking.
Creative Toppings: Personalizing Your Caramel Apples
One of the most delightful aspects of making caramel apples is the variety of toppings available, allowing you to personalize each one. Here’s an overview of popular options:
– Chopped Nuts: Almonds, pecans, walnuts, and peanuts add a crunchy texture that pairs beautifully with caramel. Roll the warm caramel-coated apple in the nuts immediately after dipping for optimal adherence.
– Sprinkles: Colorful sprinkles can add a festive touch. Choose seasonal colors like orange, yellow, and brown for fall-themed treats.
– Chocolate Drizzle: Melting chocolate and drizzling it over cooled caramel can create a striking visual appeal. Use milk, dark, or white chocolate based on your preference.
Flavor Pairings and Combinations
For a unique twist, consider flavor pairings like:
– Salted Caramel and Crushed Pretzels: A savory element that perfectly balances the sweetness of the caramel.
– Coconut Flakes and Milk Chocolate: For a tropical-inspired treat, roll your caramel apple in toasted coconut and drizzle with milk chocolate.
– Spiced Pumpkin and Pecans: Dust your caramel with pumpkin spice before adding a pecan topping for a seasonal flavor explosion.
Encourage creativity in this process! Allow each person to customize their apple with their favorite toppings, turning it into a fun activity.
Setting and Serving Your Caramel Apples
Once your apples are coated and adorned with toppings, it’s time to let them set properly.
The Setting Process
Allow the coated apples to sit at room temperature for about 30 minutes to an hour. This time allows the caramel to firm up for a perfect bite. Be sure to keep them in a cool place to prevent any melting.
Quick Setting Alternatives
If you’re short on time, you can place the apples in the refrigerator for about 10-15 minutes. This method speeds up the setting process and ensures that the caramel doesn’t lose its shape.
Presentation Ideas
When it comes to serving, presentation is key! Arrange the apples on a decorative platter or create individual bags tied with twine for a rustic look. For a festive display, consider placing the apples in a basket lined with autumn leaves or straw. You can even add small labels or tags with flavor descriptions for a charming touch.
The Joy of Homemade Caramel Apples
Making caramel apples is not just about the delicious end product; it’s also about the experience. This activity is perfect for families or groups of friends. Gather around the kitchen, each person contributing to the process, from washing and drying apples to picking out toppings.
The satisfaction that comes from sharing these homemade treats with loved ones is truly special. Each bite of a caramel apple can evoke memories of fall festivals, crisp air, and laughter. Embrace the season by making these delightful treats an integral part of your autumn traditions.
Conclusion
In summary, making homemade caramel apples involves a few key steps: preparing the caramel, expertly coating the apples, personalizing with creative toppings, and presenting them beautifully. The joy of crafting these sweet treats brings people together, creating cherished memories that last beyond the season.
As you embark on this culinary adventure, take a moment to appreciate the connection between food, tradition, and shared experiences. Embrace the flavors of fall and enjoy the delightful process of creating and savoring homemade caramel apples with your family and friends. Whether it’s for a festive occasion or just a cozy evening at home, these caramel apples are sure to delight!


